.png?height=120&name=flydocs@2x%20(2).png)
1.
Login to your account using the username and password provided.
2.
Hover over the Fleet Management tab.
3.
Hover over the Maintenance Control Centre tab and Click on the Manage By Asset tab.

4.
Select any Centre tab that you want to open like Aircraft Centre, Engine Centre, etc.

5.
Go to end of the record from grid that you want to access and Click on the view icon. It will open a new window.

6.
Select any Document Type that is visible to you like Workpacks/ Work Orders, etc.
7.
It will open listing records into grid by default then Go to "Listing Attached" is Yes record.

8.
Go to end of that record and Click on the view icon. It will open a new window.
9.
Select row from grid. Right click on selected row and click on Edit row option.

10.
Click on Save button to Save row data.

1.
Login to your account using the username and password provided.
2.
Hover over the Fleet Management tab.
3.
Hover over the Maintenance Control Centre tab and Click on the Manage By Asset tab.
4.
Select any Centre tab that you want to open like Aircraft Centre, Engine Centre, etc.
5.
Go to end of the record from grid that you want to access and Click on the view icon. It will open a new window.
6.
Select any Document Type that is visible to you like Workpacks/ Work Orders, etc.
7.
It will open listing records into grid by default then Go to "Listing Attached" is Yes record.
8.
Go to end of that record and Click on the view icon. It will open a new window.
9.
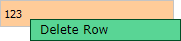
Select row from grid. Right click on selected row and click on Delete row option.
10.
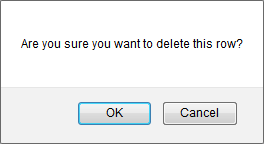
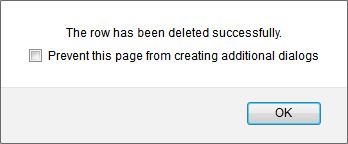
It will open pop up. Click on OK to delete Row.
11.
It will open pop up. Click on OK to delete Row.
12.
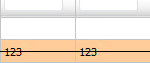
Then selected row which you have deleted will be marked by line.
1.
Login to your account using the username and password provided.
2.
Hover over the Fleet Management tab.
3.
Hover over the Maintenance Control Centre tab and Click on the Manage By Asset tab.
4.
Select any Centre tab that you want to open like Aircraft Centre, Engine Centre, etc.
5.
Go to end of the record from grid that you want to access and Click on the view icon. It will open a new window.
6.
Select any Document Type that is visible to you like Workpacks/ Work Orders, etc.
7.
It will open listing records into grid by default then Go to "Listing Attached" is Yes record.
8.
Go to end of that record and Click on the view icon. It will open a new window.
9.
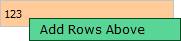
Select row from grid. Right click on selected row and click on Add row above option. It will open new window.
10.
Please Insert The Number of Rows that you want to add.
Note: If the number of rows is more than 1, please press ENTER to generate the rows on the page.
Note: If the number of rows is more than 1, please press ENTER to generate the rows on the page.

11.
It will load rows into grid. Fill the required details.

12.
Click on Save button to Save row data.

1.
Login to your account using the username and password provided.
2.
Hover over the Fleet Management tab.
3.
Hover over the Maintenance Control Centre tab and Click on the Manage By Asset tab.
4.
Select any Centre tab that you want to open like Aircraft Centre, Engine Centre, etc.
5.
Go to end of the record from grid that you want to access and Click on the view icon. It will open a new window.
6.
Select any Document Type that is visible to you like Workpacks/ Work Orders, etc.
7.
It will open listing records into grid by default then Go to "Listing Attached" is Yes record.
8.
Go to end of that record and Click on the view icon. It will open a new window.
9.
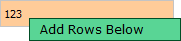
Select row from grid. Right click on selected row and click on Add Row below option.
10.
Please Insert The Number of Rows that you want to add.
Note: If the number of rows is more than 1, please press ENTER to generate the rows on the page.
Note: If the number of rows is more than 1, please press ENTER to generate the rows on the page.
11.
It will load rows into grid. Fill the required details.
12.
Click on Save button to Save row data.
1.
Login to your account using the username and password provided.
2.
Hover over the Fleet Management tab.
3.
Hover over the Maintenance Control Centre tab and Click on the Manage By Asset tab.
4.
Select any Centre tab that you want to open like Aircraft Centre, Engine Centre, etc.
5.
Go to end of the record from grid that you want to access and Click on the view icon. It will open a new window.
6.
Select any Document Type that is visible to you like Workpacks/ Work Orders, etc.
7.
It will open listing records into grid by default then Go to "Listing Attached" is Yes record.
8.
Go to end of that record and Click on the view icon. It will open a new window.
9.
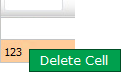
Right click on cell which you wish to Delete and select option Delete Cell.
10.
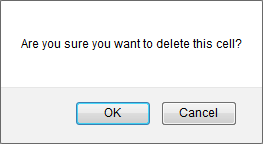
Popup message will appear to confirm deletion. By selecting OK button, The Cell will be deleted.
11.
It will show you Popup message. Click on OK button.
Note:- If you do not see this option appear it is due to access restrictions for your user account. please contact an administrator.